

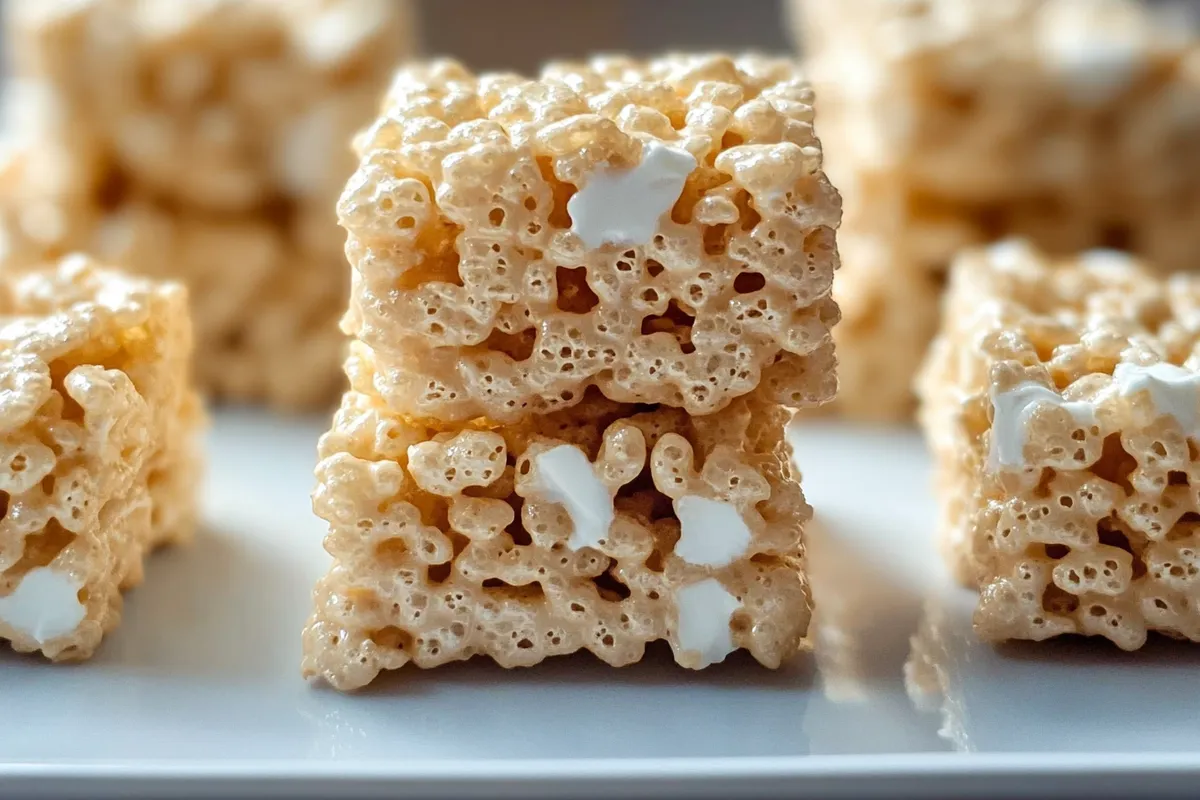
If you’re seeking the perfect blend of nostalgia and simplicity, look no further than a delightful rice krispie treats recipe. These chewy, sweet squares have a unique charm that makes them a favorite for kids and adults alike, whether at birthday parties, bake sales, or cozy family gatherings. The beauty of this recipe lies in its versatility; you can easily customize it with a variety of flavorings, including chocolate, peanut butter, or even festive sprinkles to match any occasion.
To elevate your treats to the next level, consider expert tips such as toasting the rice cereal for added crunch or using high-quality marshmallows for that perfect sticky texture. By mastering the classic rice krispie treats recipe, you’ll open the door to endless possibilities, letting your creativity shine through every batch. So grab your ingredients, and let’s embark on a fun and delicious journey to create the ultimate gooey snack that will have everyone coming back for more.
Ingredients for rice krispie treats recipe:
This classic treat combines simplicity and delightful crunch, making it a favorite for all ages. Here, we will outline the precise ingredients needed to serve 8-10 people.
Main Ingredients
- 6 cups of Rice Krispies cereal
- 4 tablespoons of unsalted butter
- 10 ounces of marshmallows (mini or regular, about 40 large marshmallows)
- 1/4 teaspoon of salt (optional, to enhance flavor)
- 1 teaspoon of pure vanilla extract (optional, for added flavor)
Additional Toppings and Mix-ins
- 1/2 cup of chocolate chips (milk, dark, or white chocolate, for drizzling or mixing)
- 1/2 cup of colorful sprinkles (to make the treats festive)
- 1/2 cup of peanut butter (mixed with melted marshmallows for a nutty twist)
- 1/2 cup of chopped nuts (pecans, walnuts, or almonds add a crunchy texture)
Flavoring Variations
For those looking to spice things up a bit, consider adding the following ingredients:
- 1/2 teaspoon of cinnamon (for a warm, spiced flavor)
- 1/4 teaspoon of almond extract (a fragrant alternative to vanilla)
- 1/2 cup of shredded coconut (for a tropical twist)
- 1/2 cup of dried fruits (like cranberries or cherries for a chewy contrast)
Allergy-Friendly Alternatives
If you’re catering to specific dietary needs, consider these alternatives:
- Vegan butter or coconut oil in place of unsalted butter
- Vegan marshmallows for a dairy-free treat
- Gluten-free Rice Krispies cereal (certified) for those with gluten sensitivities
With these ingredients in hand, you are ready to create deliciously chewy and crispy snacks that will delight your friends and family.
How to prepare rice krispie treats recipe:
Rice Krispie treats are a classic and effortless dessert that brings joy to everyone. Follow these clear steps to create your delicious batch.
Gather Your Ingredients
Start by collecting all the necessary ingredients. You will need:
- 6 cups of Rice Krispies cereal
- 4 cups of mini marshmallows
- 3 tablespoons of butter
- A pinch of salt (optional)
- Cooking spray or wax paper for easy cleanup
Melt the Butter
Place a large saucepan over low heat.
Add the 3 tablespoons of butter to the pan.
Allow the butter to melt completely, stirring occasionally.
Add Marshmallows
Once the butter has melted, add the 4 cups of mini marshmallows to the pan.
Stir the marshmallows with a spatula until they are fully melted and combine with the butter.
Mix in Rice Krispies Cereal
After the marshmallows are melted, remove the saucepan from the heat.
Carefully add the 6 cups of Rice Krispies cereal to the marshmallow mixture.
Stir gently to coat all the cereal with the melted marshmallow mixture.
Prepare the Baking Dish
Grease a 9×13-inch baking dish with cooking spray or line it with wax paper.
This step ensures your treats will come out easily and helps prevent sticking.
Transfer the Mixture
Scoop the cereal and marshmallow mixture into the prepared baking dish.
Using a spatula or your hands (dampened to avoid sticking), press the mixture firmly into an even layer.
Cool and Slice
Allow the Rice Krispie treats to cool for about 30 minutes at room temperature.
Once cooled, cut them into squares or rectangles using a sharp knife.
Enjoy Your Treats!
Your Rice Krispie treats are now ready to be enjoyed. Serve them at parties, pack them for lunch, or savor them as an afternoon snack.
Tips for the Perfect Rice Krispie Treats Recipe
Maintain the Right Temperature
One of the keys to making outstanding rice krispie treats is controlling the temperature. Melt the butter and marshmallows slowly over low heat. If the heat is too high, it can cause the marshmallows to harden instead of melting smoothly, leading to a less sticky texture. Stir constantly until fully melted. Once combined, remove from the heat as soon as the mixture is smooth and glossy. This step ensures your treats turn out soft and chewy.
Use Quality Ingredients
Quality ingredients make a significant difference in flavor. Choose fresh marshmallows and a good brand of butter for the best taste. Salted butter can enhance the overall flavor profile, but if you prefer a sweeter treat, unsalted butter will work just as well. For a pop of flavor, consider adding a splash of vanilla extract to the melted marshmallow and butter mixture. This small addition can elevate your treats.
Dietary Substitutions
If you have dietary restrictions, there are suitable substitutions to keep everyone happy. For gluten-free options, verify that your rice cereal is certified gluten-free, as some brands may contain trace gluten. To make these treats dairy-free, replace butter with a dairy-free alternative such as coconut oil or vegan butter. You may also consider using mini marshmallows specifically labeled as dairy-free.
Enhance with Mix-Ins and Toppings
Add your personal touch to the classic recipe by incorporating mix-ins. Chopped nuts, chocolate chips, or dried fruit can create exciting variations. For an extra layer of fun, drizzle melted chocolate on top after they cool, or sprinkle colorful sprinkles over the mixture before it sets. These enhancements not only improve the flavor profile but also make your treats visually appealing.
Storage Tips
Proper storage is crucial for keeping your rice krispie treats fresh. Store them in an airtight container at room temperature. They should remain soft for up to a week. If you need to prolong their shelf life, you can refrigerate them, but keep in mind that they may become slightly harder. To ensure they stay chewy, place a piece of bread in the container with the treats to help maintain moisture.
With these practical tips and variations, you can enjoy delightful, homemade rice krispie treats that cater to all tastes and preferences. Happy cooking!
Storage Tips for Rice Krispie Treats Recipe:
Keeping your Rice Krispie treats fresh and delicious requires some simple storage techniques. Here’s how to maintain their optimal taste and texture, ensuring each bite remains as delightful as the first.
Choose the Right Container
Start with an airtight container. This helps prevent air exposure, which can lead to stale treats. A plastic container with a tight-sealing lid works best. If you don’t have an airtight container, wrap the treats tightly in plastic wrap before placing them in another container or resealable bag.
Storing at Room Temperature
Storing your Rice Krispie treats at room temperature works well for short periods. Keep them in a cool, dry place away from sunlight. The pantry is an ideal spot. They usually stay fresh for about 3 to 5 days in such conditions. If you notice the treats hardening, they may still be edible but can lose their enjoyable chewiness.
Refrigeration for Extended Freshness
If you want to extend the shelf life, consider refrigerating them. Simply place the airtight container in the fridge. This method can keep them fresh for about one week. However, refrigeration may cause the treats to become slightly firmer. To soften them, you can leave them at room temperature for a while before enjoying.
Freezing for Long-Term Storage
For greater longevity, freezing is your best option. Cut the Rice Krispie treats into individual squares, then wrap each piece in plastic wrap, securing them tightly. Next, place all wrapped treats into a freezer-safe bag or container. This method can preserve them for up to three months, maintaining their flavor and texture effectively.
Thawing and Enjoying Frozen Treats
When you’re ready to enjoy your frozen treats, simply remove the desired amount from the freezer. Unwrap them and let them sit at room temperature for about 15-30 minutes. This allows them to return to a softer texture, perfect for indulging once again.
By following these storage guidelines, you can savor your Rice Krispie treats for days or even months! Keeping them fresh means more delightful snacking moments ahead.
Related Recipes to Rice Krispie Treats
If you love the crispy, gooey goodness of rice krispie treats, you might enjoy these similar recipes that share a delightful balance of texture and sweetness. Each suggestion brings something special to the table, while still maintaining that comforting familiarity.
First up is Chocolate Cereal Bars. These bars combine chocolate-flavored cereal with melted marshmallows and a drizzle of chocolate on top. Similar to the classic rice krispie treats, they deliver a sweet crunch with an added chocolaty twist that many find irresistible. They make for a great snack, especially for those who crave that extra cocoa flavor.
Next, consider making Peanut Butter Puffed Rice Bars. These bars use puffed rice, sticky peanut butter, and honey as a binding agent. The nutty flavor of the peanut butter complements the sweetness of the marshmallows in the traditional recipe. Plus, the protein from the peanut butter provides a satisfying boost, making them perfect for a quick post-workout snack.
Another fantastic option is Marshmallow Popcorn Treats. This recipe takes the beloved marshmallow aspect and combines it with crunchy popcorn. The end result is a fun, chewy, and crispy treat that kids and adults will love. You can easily customize the flavor by adding various toppings, such as drizzled chocolate or colorful sprinkles.
Lastly, don’t overlook Granola Bars. Though denser, they still share that chewy texture. These bars typically include oats, nuts, and dried fruits, offering a heartier snacking experience. They make a great on-the-go option while still echoing the sweetness you find in rice krispie treats.
Explore these delightful recipes and discover new favorite snacks that capture the same joy and satisfaction!
Frequently Asked Questions:
What ingredients do I need for a classic rice krispie treats recipe?
To whip up a delightful batch of classic rice krispie treats, you will need simple ingredients that are easy to find. Gather 3 tablespoons of unsalted butter, 1 package (10 ounces) of mini marshmallows, and 6 cups of rice cereal. This combination creates that perfect gooey and crunchy texture you love.
Can I use different types of cereal in my rice krispie treats recipe?
Absolutely! While the traditional recipe calls for rice cereal, you can creatively swap it out with other cereals. Options like cocoa rice puffs, cornflakes, or a mixture of cereals can add unique flavors and textures to your treats, making them a fun twist on the classic version.
How long do rice krispie treats last after making them?
Once prepared, rice krispie treats can last up to three days at room temperature if stored in an airtight container. However, they are best enjoyed fresh on the day they are made, as they may become a bit stale over time.
Can I melt the marshmallows in the microwave for this recipe?
Yes, melting marshmallows in the microwave is a quick and easy method. Place your marshmallows and butter in a microwave-safe bowl, heat for 30-second intervals, stirring in between until melted and smooth. This method significantly speeds up the preparation process of your delightful treats.
What can I add to enhance the flavor of my rice krispie treats?
To elevate the flavor profile of your rice krispie creations, consider adding ingredients such as vanilla extract, peanut butter, or even chocolate chips. Mixing in sprinkles, nuts, or dried fruit can also bring an exciting twist that makes your treats stand out.
How do I cut the treats into uniform squares?
For even squares, wait for the treats to cool completely in the pan. Once set, use a sharp knife to cut through the treats in a back-and-forth motion rather than pressing down hard. Lightly greasing the knife beforehand can help prevent sticking, resulting in beautifully shaped squares.
Conclusion:
In summary, this Rice Krispie treats recipe offers a quick and enjoyable way to make a classic favorite. With just three primary ingredients—rice cereal, marshmallows, and butter—you’ll find the process both straightforward and rewarding.
One of the best things about this treat is its flexibility. Feel free to experiment by adding mix-ins such as chocolate chips, nuts, or sprinkles to personalize each batch. Additionally, you can shape them into festive forms or layer flavors for a more indulgent experience.
Whether you’re hosting a party or simply craving a sweet snack, these treats can easily adapt to suit your needs. Simplifying baking doesn’t get much better than this, making Rice Krispie treats a must-have in any home chef’s repertoire.
Get creative, have fun, and enjoy these delightful treats with family and friends!